
Yes, I am still here! I am still teaching and have had some changes in my teaching career. All the changes and life have kept me busy lately. So, let’s talk about why you are here! The month of October is always busy. I am sure you know what I am talking about. We spent the last few weeks of the month completing bat activities. So, my team and I decided to bring in a bat cave classroom transformation for the last week in October. Since we were learning about bats I decided to change my classroom into a bat cave.
Bat Cave Classroom Transformation
Everyone knows that if you are learning about bats, then you need a bat cave. The hubs came in handy for this project. He made me a cave frame out of PVC pipes. Then I covered it with brown craft paper. I made huge rocks/boulders out of the same brown kraft paper. (Click here using my Amazon link to purchase the brown kraft paper I used). I strung battery lights on the inside and hung die cut bats on the inside of the cave.
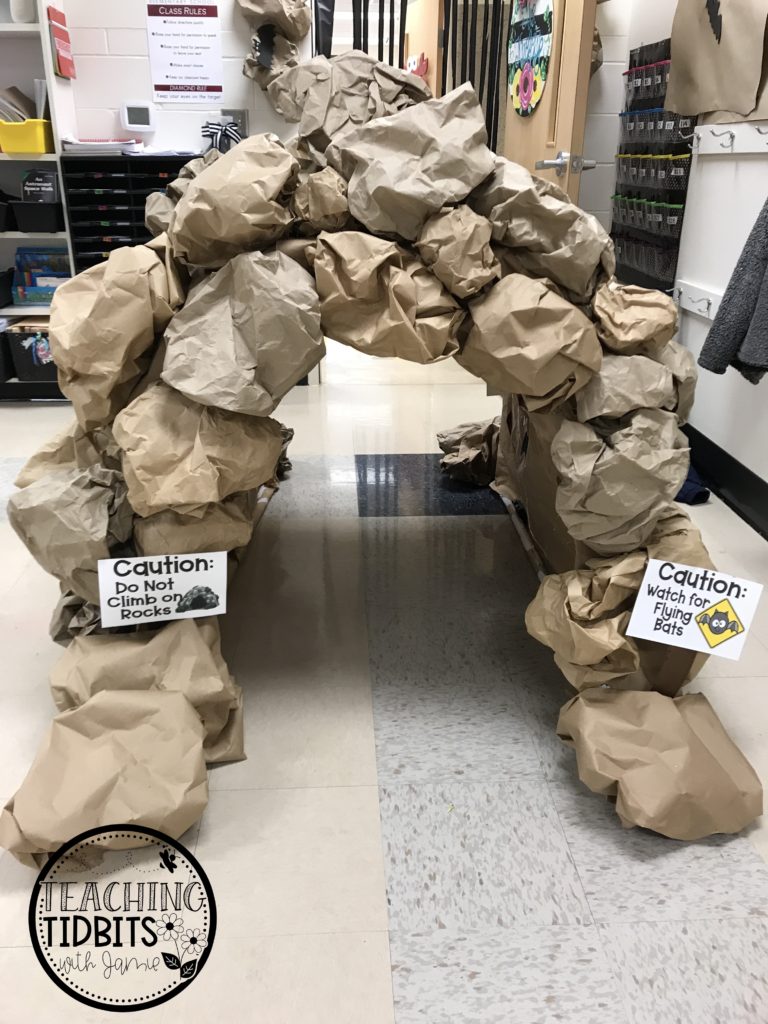
I decided to not cover all four sides of my room. In fact, I only partially covered two sides and it turned out perfectly. I covered my back wall, which is where my bulletin boards are, with black plastic table cloths. I bought a huge roll off of Amazon and used it in several places. Having one big roll made it easier. I made a cave in the center of the black plastic using the brown kraft paper.
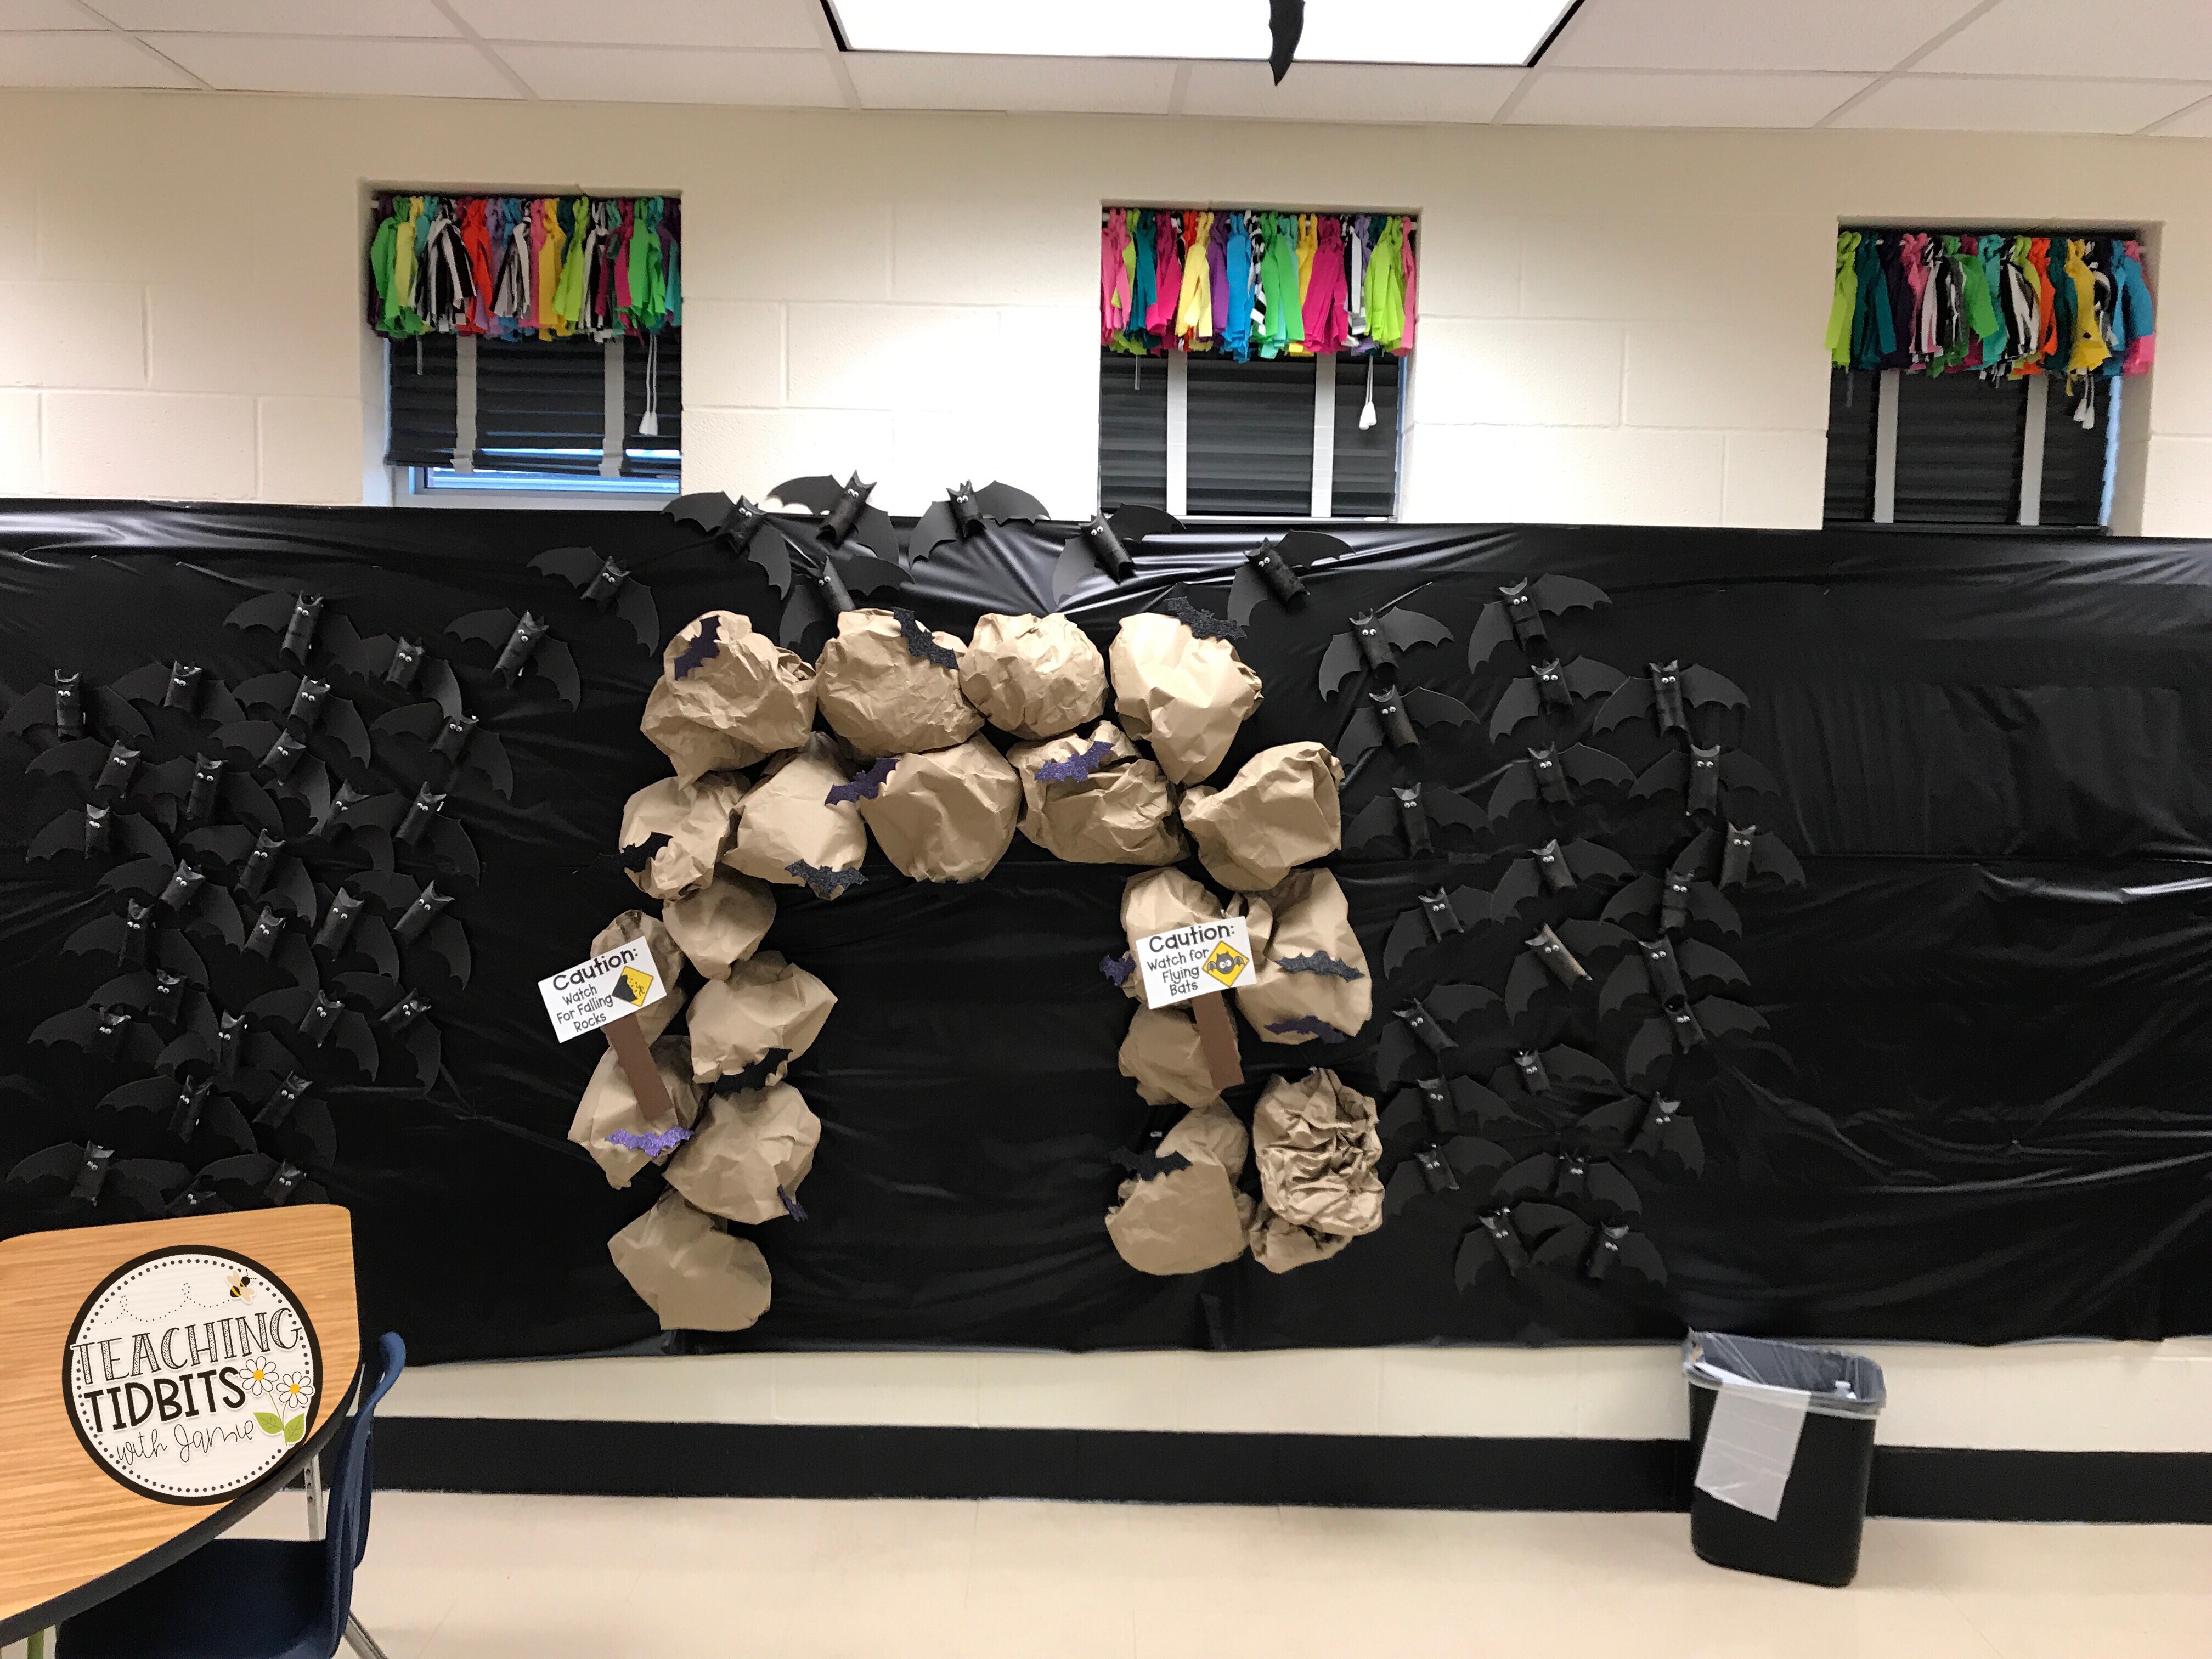
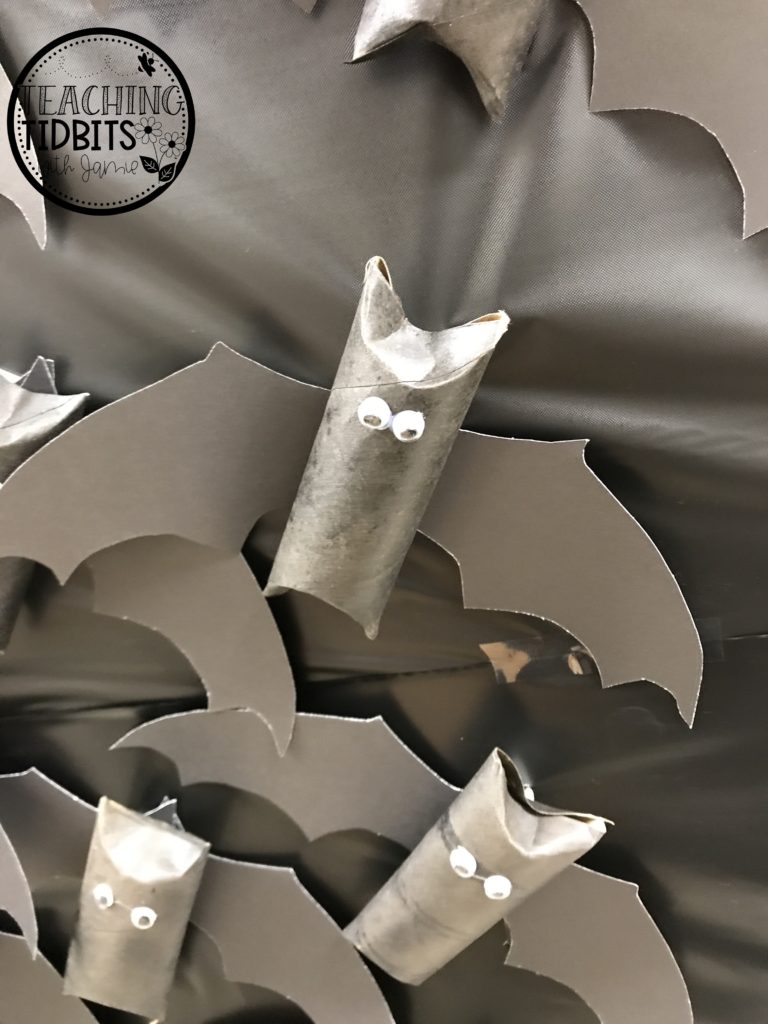
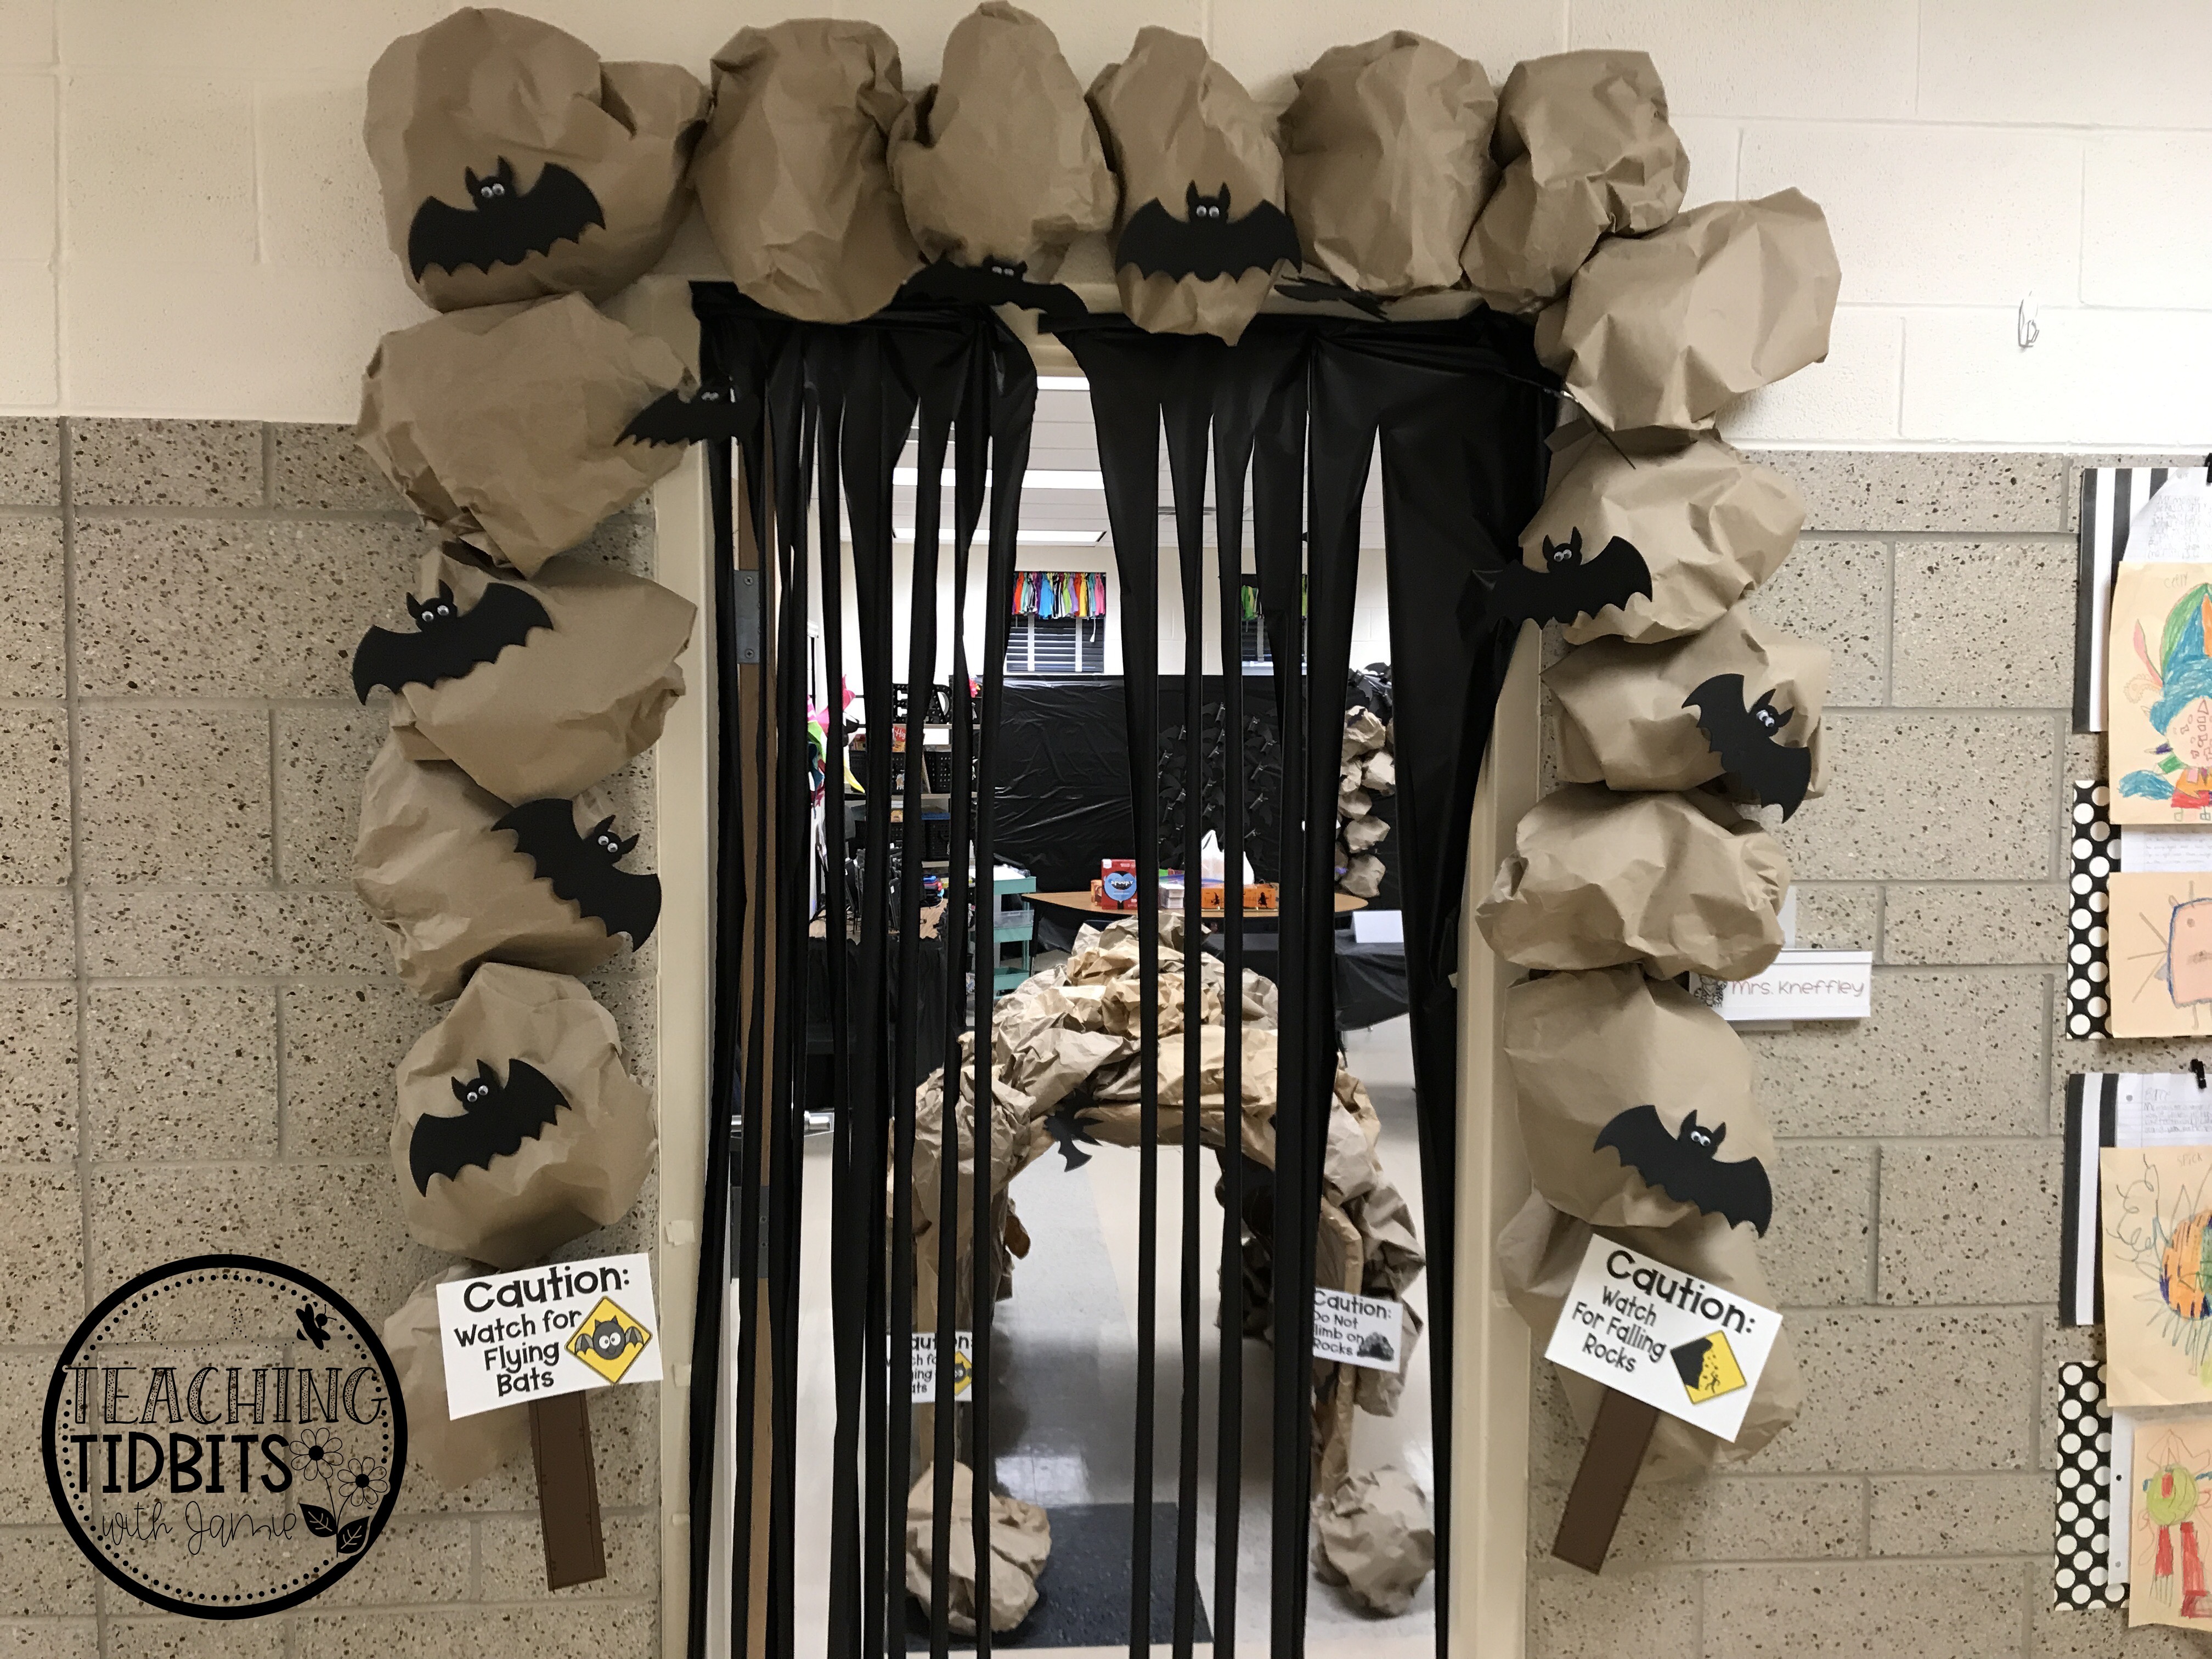
The bats on the back wall are made from empty toilet paper rolls that the students brought in. You read that right toilet paper rolls! My room parent sprayed painted the toilet paper rolls black and glued google eyes and wings on them. I saw this idea on Pinterest, but not sure who it is from. Whoever, came up with the idea is a genius. They turned out perfect and it was cheap and easy to make. This would make a perfect bat craft for Halloween too! For my classroom door I covered the inside and out with rocks and taped die cut bats onto them. I hung more black plastic table cloth up on the door frame and shredded it with scissors.
I wanted my students to work in groups so I pushed the desk together. We covered them with black plastic. As a final touch I hung bats around the classroom. All of the signs and station tags I made in Powerpoint.
Bat Activities
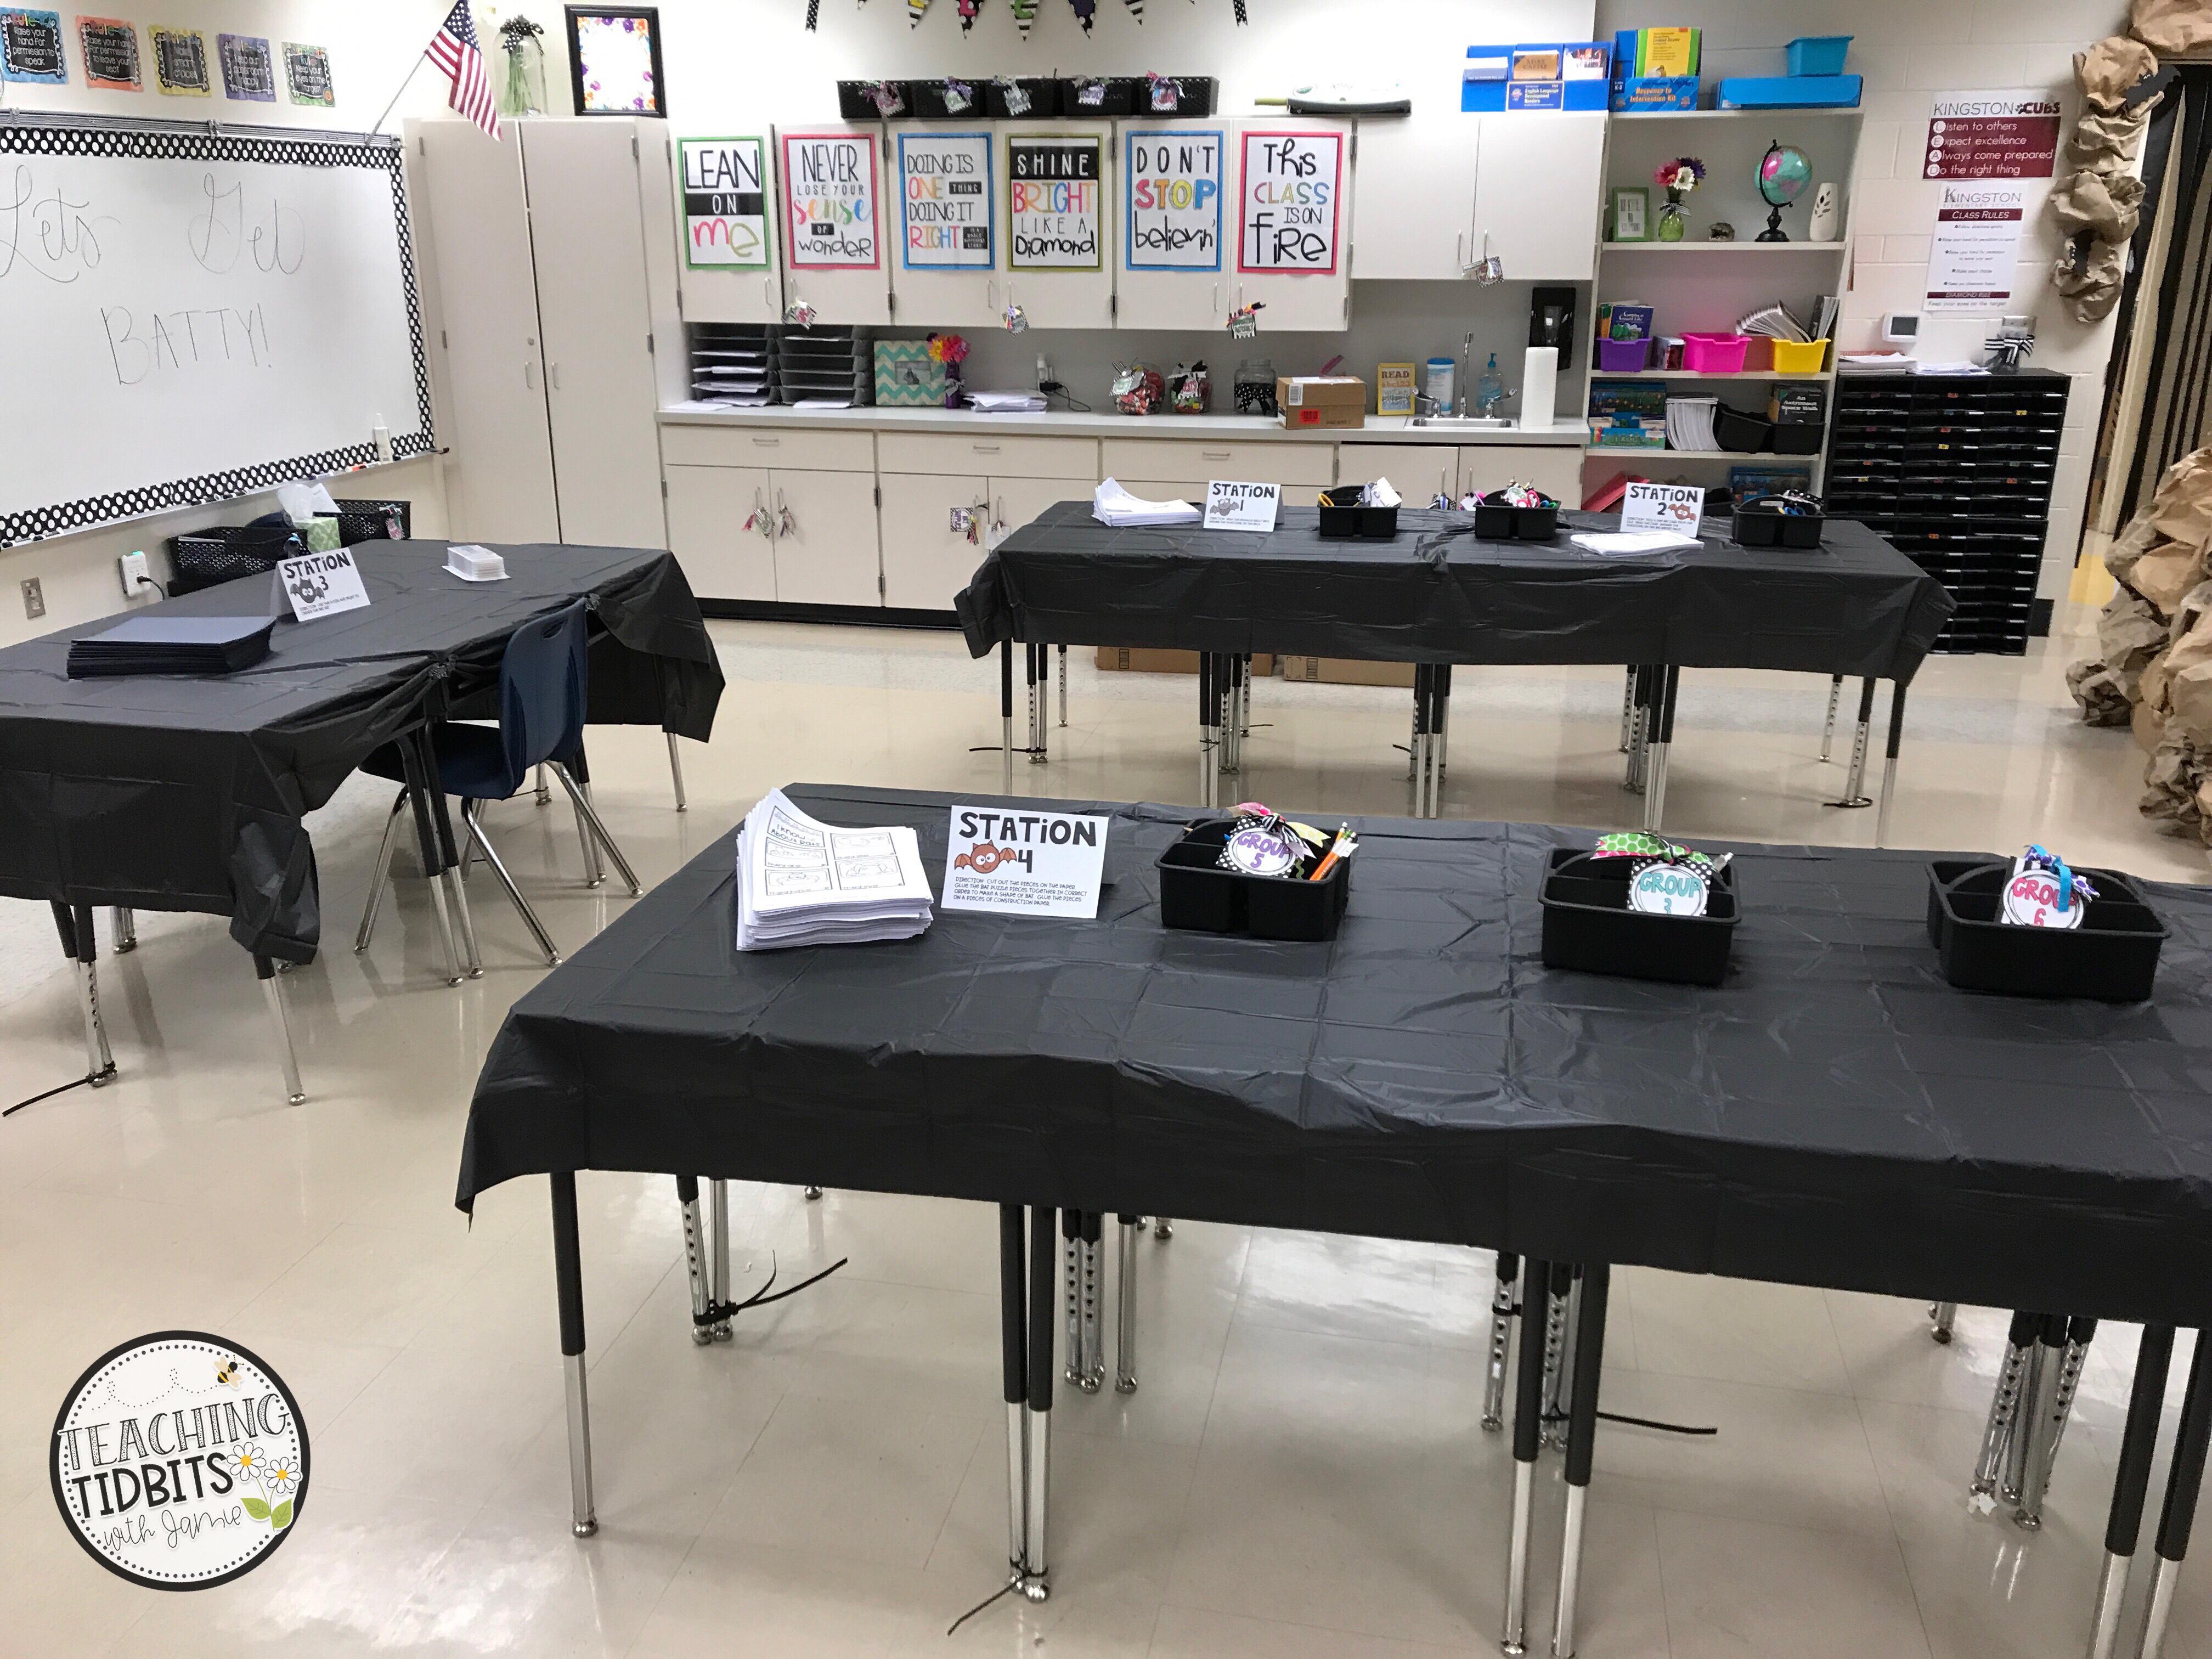
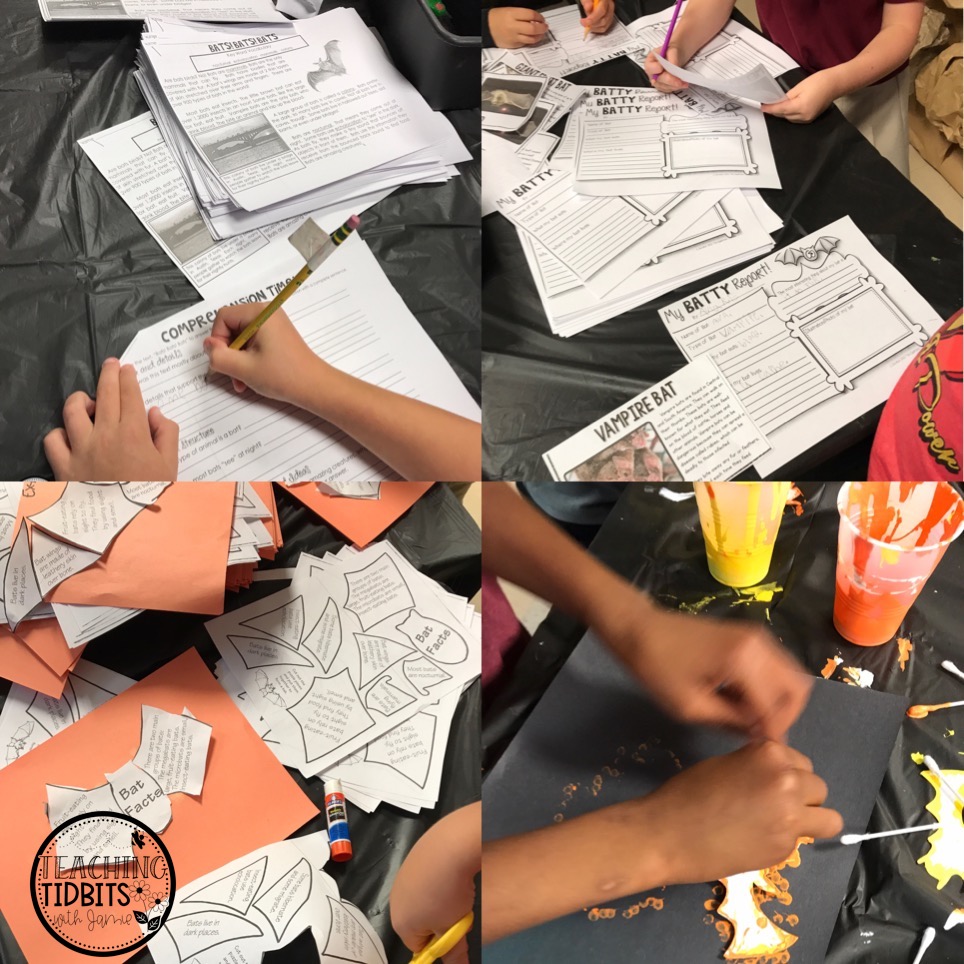
We had four stations. We worked on the following essential standards: main idea with supporting details, fact and opinion, providing text evidence, and for fun an art station. The products were from various teacher authors on Teachers Pay Teachers.
(Many of my activities came from a bat pack by: Applicious Teacher!)
Bat Treats
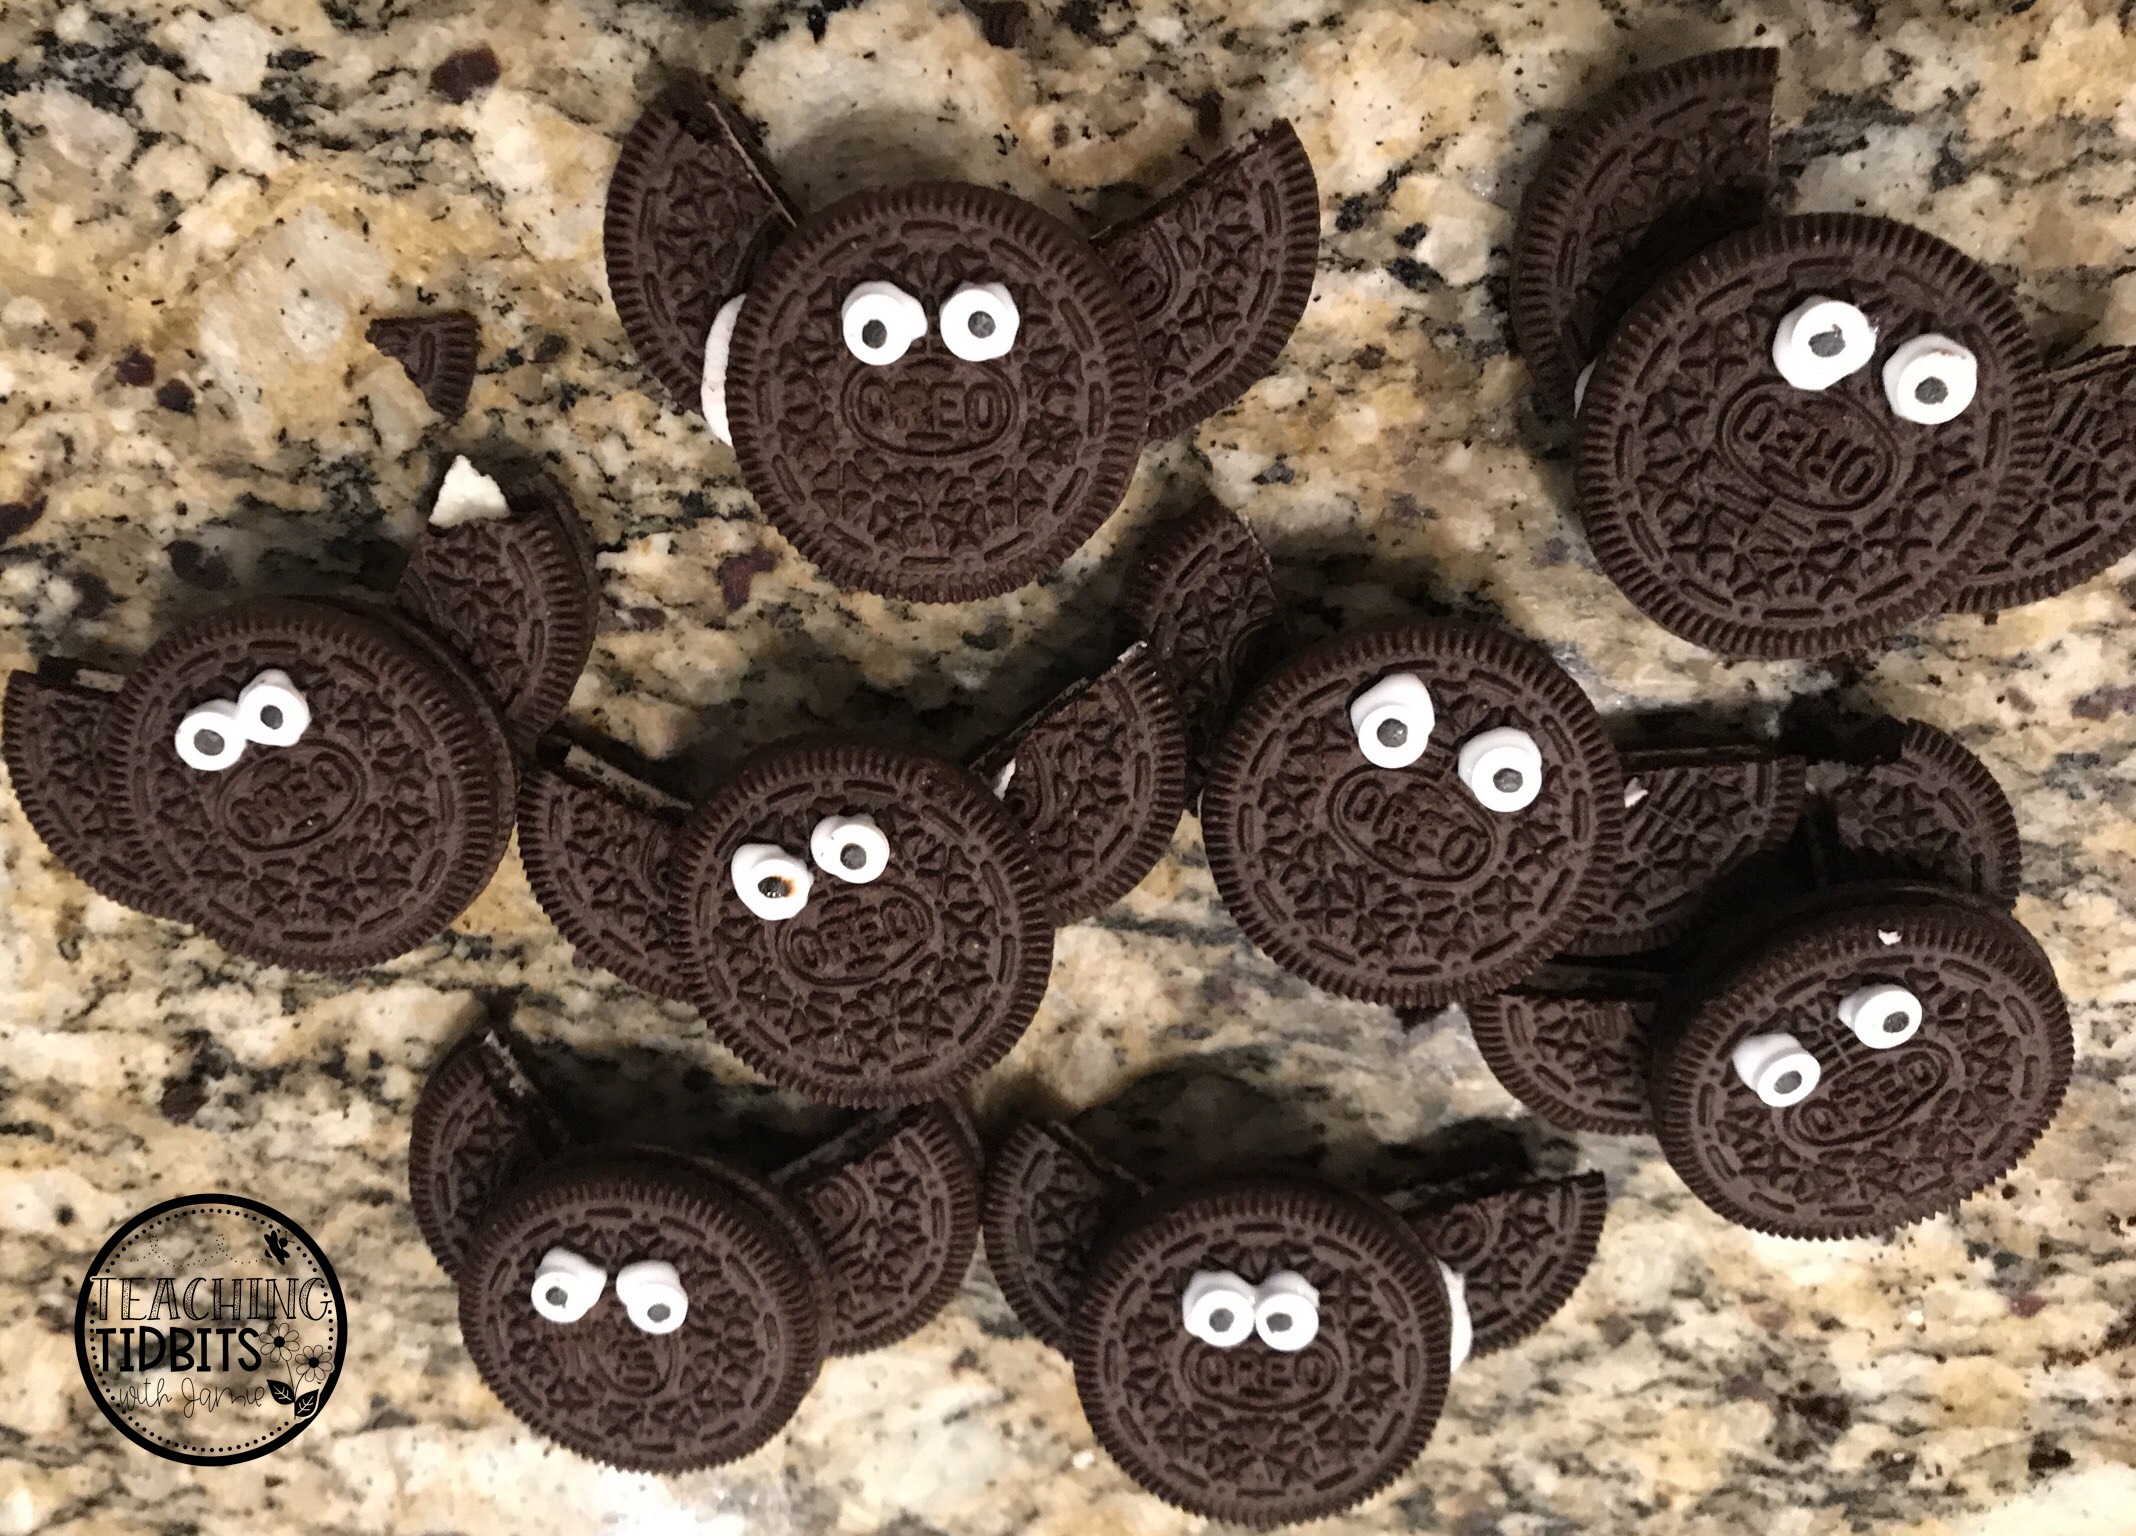
At the end of the day we enjoyed Oreo bat treat cookies for our snacks! If you want to make the cookies you will need two Oreos for every student. Cut one cookie in half and put icing on the ends. Then stick each end on the back of the cookie. For the eyes use editable google eyes.
The entire transformation probably cost me about $100. You could have parents to donate brown kraft paper and black plastic table clothes, but I chose to buy a jumbo roll of each. Most of the bats were cut from construction paper on my Silhouette. The most time consuming thing to make was the rocks. I took a while to cover the cave and make enough to cover the other areas. Needless to say this classroom transformation was a huge hit! I can’t wait to use it next year and add more to the transformation.
Thanks for stopping by and taking a peek! I would love to know if you have done any transformations in your classroom. Let me know in the comments! And with Christmas around the corner I have you covered with some awesome reading centers, math worksheets, and STEM challenges hop on over to my blog post to read more about it! Thanks for stopping by and taking a peek!


